If you want to create beautiful and durable woodworking projects, learning how to join acacia wood finger joint is essential. This jointing technique is popular for its strength, stability, and aesthetically pleasing results. In this comprehensive guide, we will explore 7 proven methods to join acacia wood finger joints, discuss their applications, and provide practical tips to help you master this technique.
What is a Finger Joint and Why Use It with Acacia Wood?
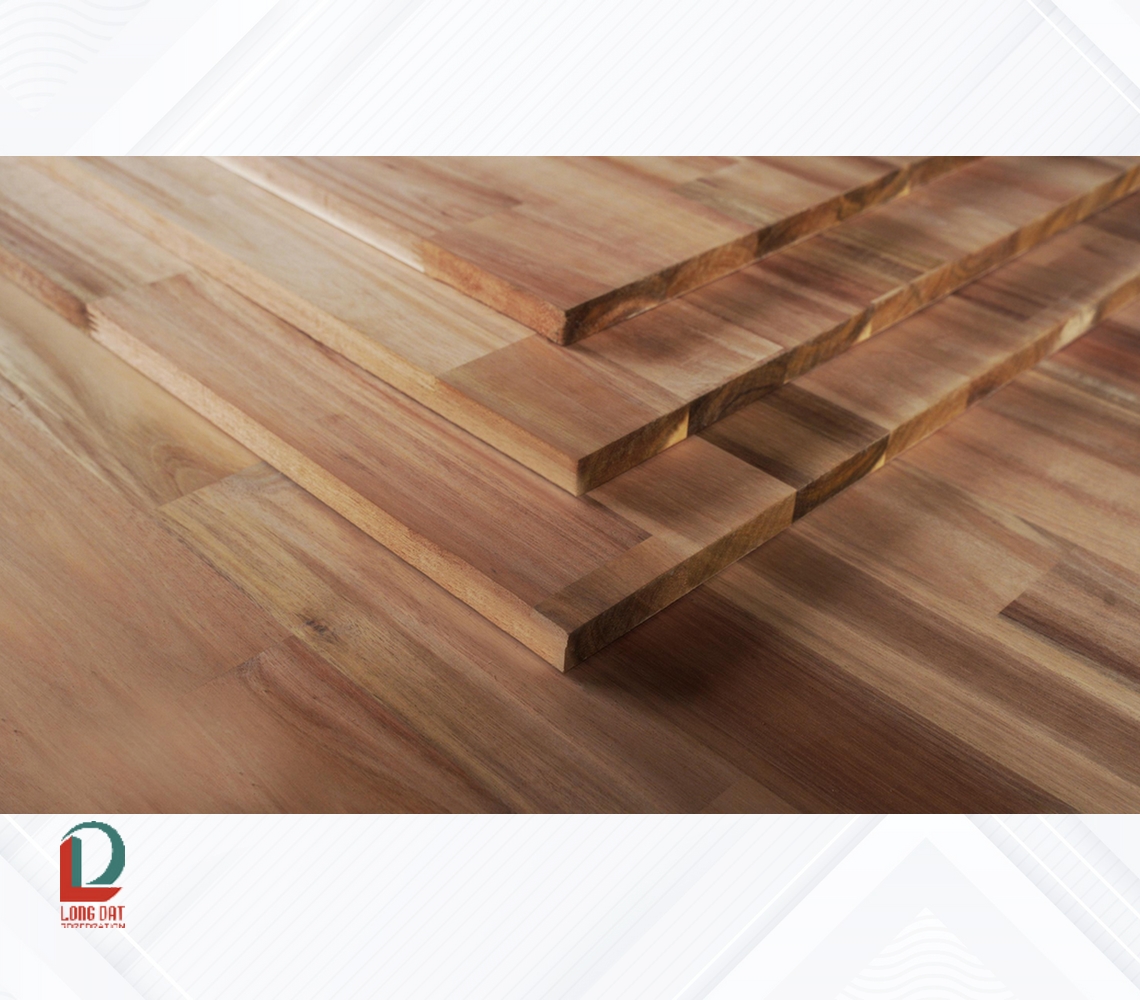
A finger joint, also known as a comb joint, is a woodworking technique where two pieces of wood are cut into interlocking fingers, which fit together perfectly when glued. This method creates a large gluing surface, ensuring a strong bond. Acacia wood is ideal for finger joints due to its natural hardness, durability, and attractive grain patterns, making it perfect for projects requiring both strength and beauty.
1. Preparing to Join Acacia Wood Finger Joint
Before you start, you need to gather the necessary tools and materials. Here’s a checklist to ensure you have everything ready:
- Table saw or router: For cutting precise finger joints.
- Clamps: To hold the pieces together during gluing.
- Wood glue: A strong adhesive, preferably waterproof.
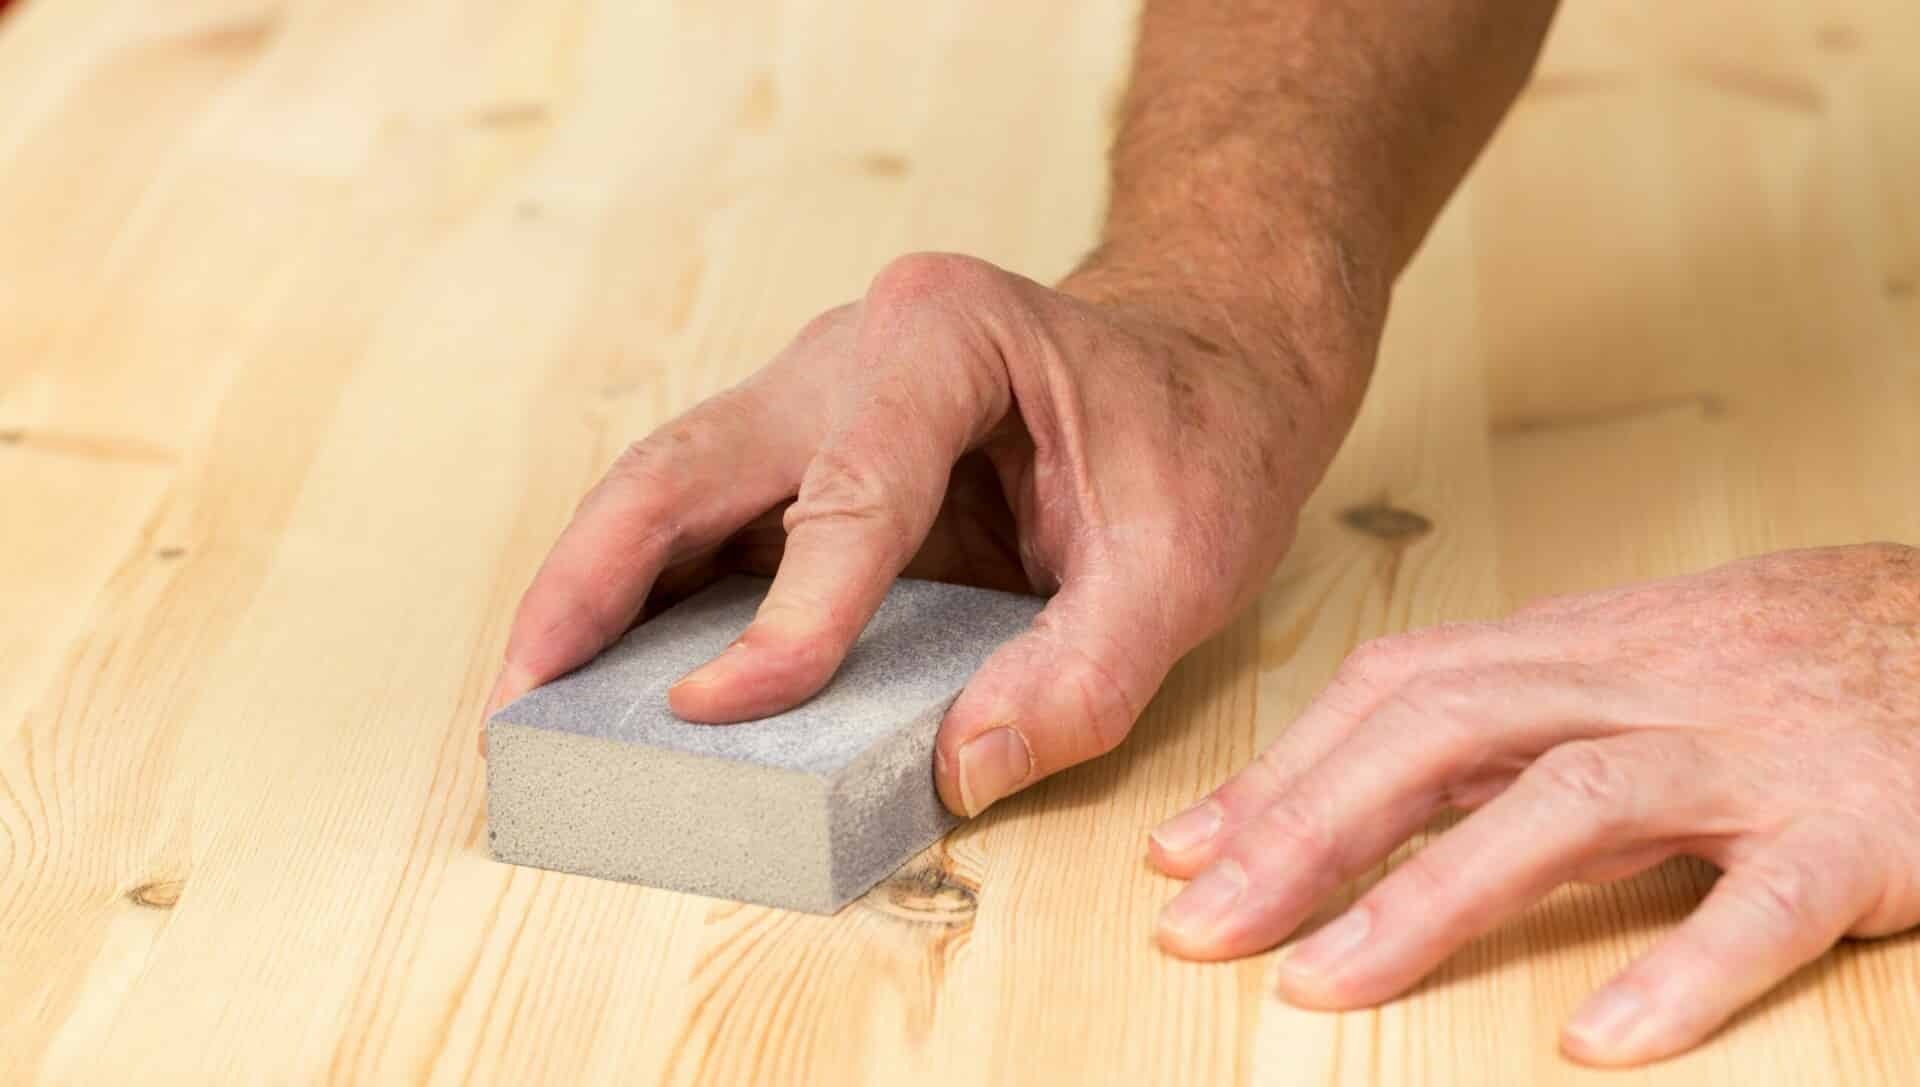
- Sandpaper: For smoothing the edges.
- Measuring tools: Tape measure, ruler, and square.
Having high-quality tools is crucial when working with acacia wood, as it can be dense and tough to cut.
2. Cutting the Finger Joints – The First Step to Join Acacia Wood Finger Joint
The most critical step in the process is cutting the finger joints accurately. Here’s a step-by-step guide:
- Mark the fingers: Measure and mark the fingers on both pieces of wood. Ensure that the fingers are evenly spaced for a perfect fit.
- Cut the fingers: Use a table saw or router to cut the fingers. Make sure the cuts are precise, as even a small error can affect the final result.
- Test the fit: Before applying glue, test how the two pieces fit together. They should interlock snugly without any gaps.
3. Applying Glue – The Key to Strong Acacia Wood Finger Joints
Once the fingers fit together perfectly, it’s time to apply the glue:
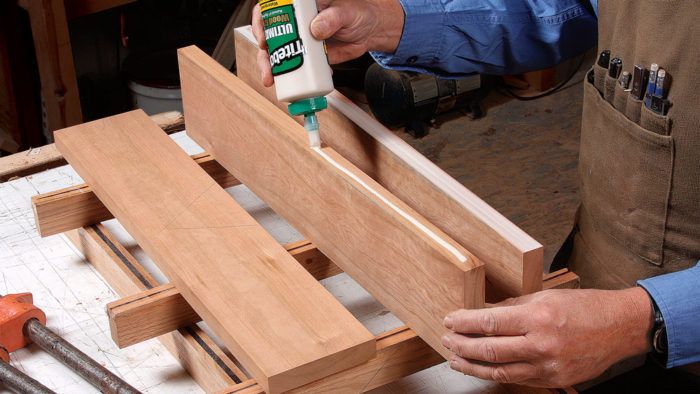
- Choose the right glue: Use a high-quality, waterproof wood glue to ensure a durable bond.
- Apply glue evenly: Spread a thin layer of glue on all surfaces of the fingers. Avoid using too much glue, as it can cause the joint to swell.
- Join the pieces: Press the two pieces together and make sure the fingers interlock completely.
4. Clamping – Ensuring a Secure Join for Acacia Wood Finger Joint
Clamping is crucial for creating a strong joint. Here’s how to do it:
- Align the pieces: Make sure the edges are flush and the fingers are fully inserted.
- Apply clamps: Use multiple clamps to apply even pressure across the joint. Leave the clamps in place for at least 24 hours to ensure the glue dries thoroughly.
5. Sanding the Acacia Wood Finger Joint – Achieving a Smooth Finish
After the glue has dried, remove the clamps and sand the joint to achieve a smooth finish:
- Use fine-grit sandpaper: Start with a 120-grit sandpaper and gradually move to 220-grit for a polished look.
- Sand in the direction of the grain: This helps maintain the natural beauty of the acacia wood.
6. Applying Finishes – Protecting and Enhancing Your Acacia Wood Finger Joint
To protect the acacia wood and enhance its appearance, you should apply a finish:
- Choose the right finish: Options include oil, varnish, or polyurethane. Each offers different levels of protection and shine.
- Apply multiple coats: For the best results, apply 2-3 coats, allowing each coat to dry before applying the next.
7. Practical Applications of Acacia Wood Finger Joints
The finger joint technique is incredibly versatile and can be used in various woodworking projects. Here are some practical applications:
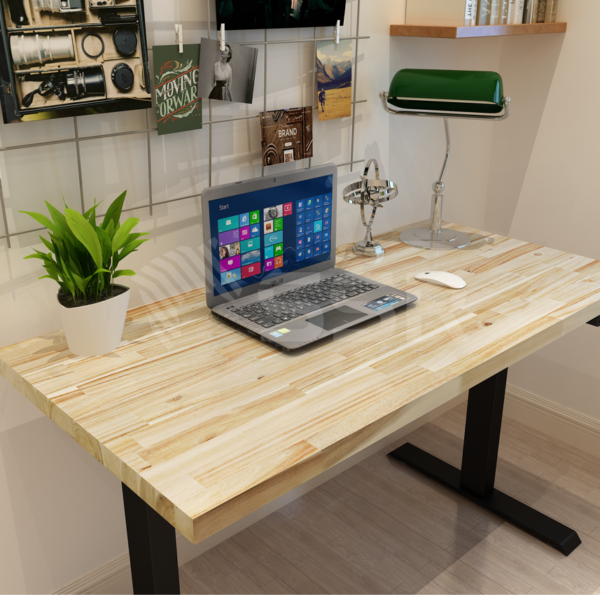
- Furniture making: Join acacia wood finger joints to create strong and beautiful table legs, frames, and cabinets.
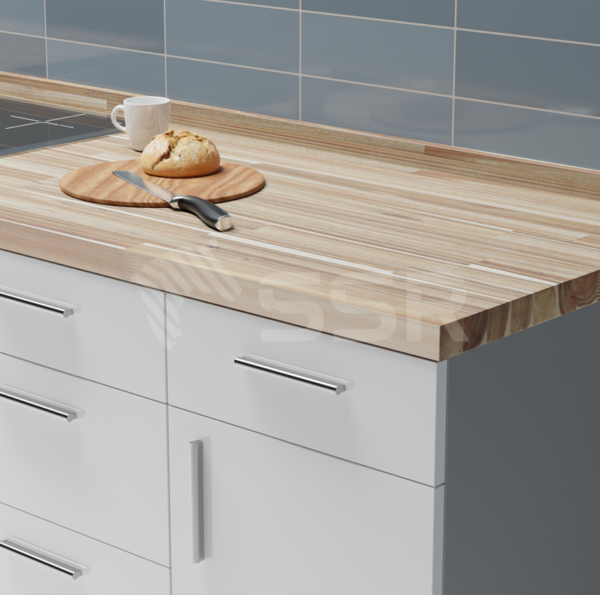
- Cutting boards and countertops: The durable and water-resistant properties of acacia wood make it ideal for kitchen applications.
- Shelving and storage units: Use finger joints to build sturdy shelves that can handle heavy loads.
- Decorative items: Create unique picture frames, wall art, or wooden boxes using acacia wood finger joints for an attractive and durable finish.
Benefits of Using Finger Joints with Acacia Wood
- Strength: The large gluing surface provides a strong bond that can withstand heavy loads.
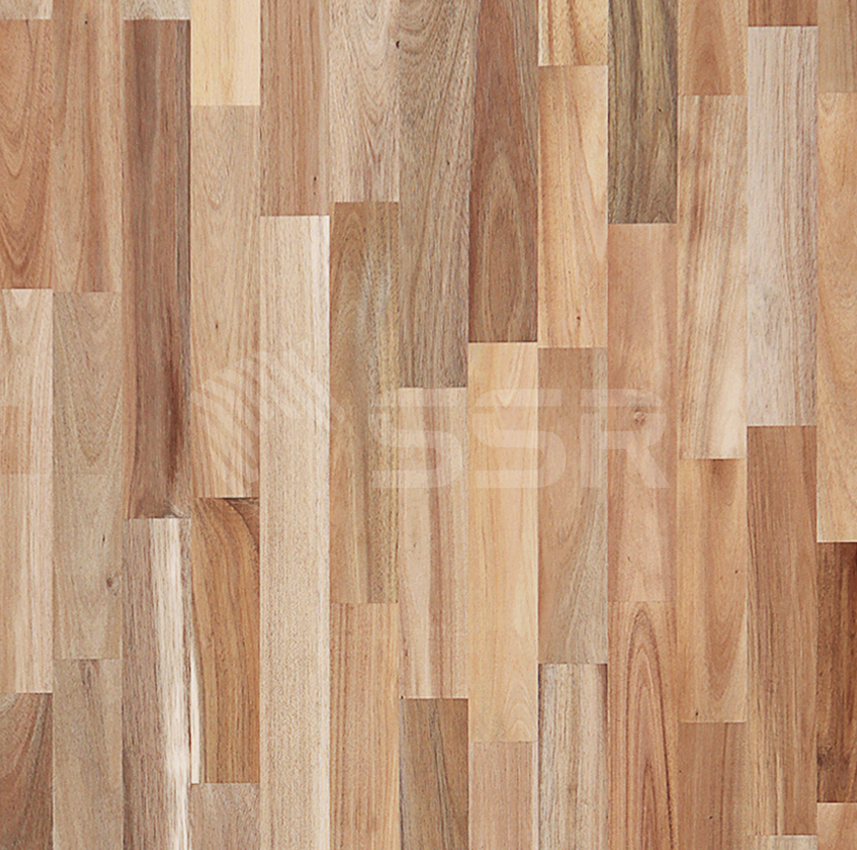
- Aesthetics: The interlocking fingers create an attractive pattern, enhancing the overall appearance of your project.
- Cost-Effectiveness: Finger joints allow you to make use of shorter pieces of acacia wood, reducing waste and cost.
Common Mistakes When Joining Acacia Wood Finger Joints and How to Avoid Them
While the finger joint technique is straightforward, there are some common mistakes to watch out for:
- Inaccurate measurements: Ensure precise measurements to avoid gaps in the joint.
- Using too much glue: Excess glue can cause swelling, making the joint difficult to fit together.
- Not clamping properly: Inadequate clamping can lead to weak joints.
Expert Tips for a Perfect Acacia Wood Finger Joint
- Use a jig: A finger joint jig helps maintain consistent spacing and depth when cutting the fingers.
- Pre-sand the wood: Sanding the edges before joining ensures a better fit.
- Apply glue to both pieces: This ensures a stronger bond and reduces the chances of gaps.
Conclusion: Master the Art of Joining Acacia Wood Finger Joint
By following these 7 proven techniques, you can join acacia wood finger joints with confidence, achieving strong and aesthetically pleasing results. Whether you’re creating furniture, countertops, or decorative pieces, mastering the finger joint technique will elevate your woodworking projects to a professional level.
You can read more articles by visiting our blog here.

