Nowadays, Butcher block countertops are popular in kitchens for their warmth, versatility, and natural beauty. It’s easy to see how butcher blocks fit within this trend and are easily one of the most important materials for kitchen countertop construction in the early twenty-first century.

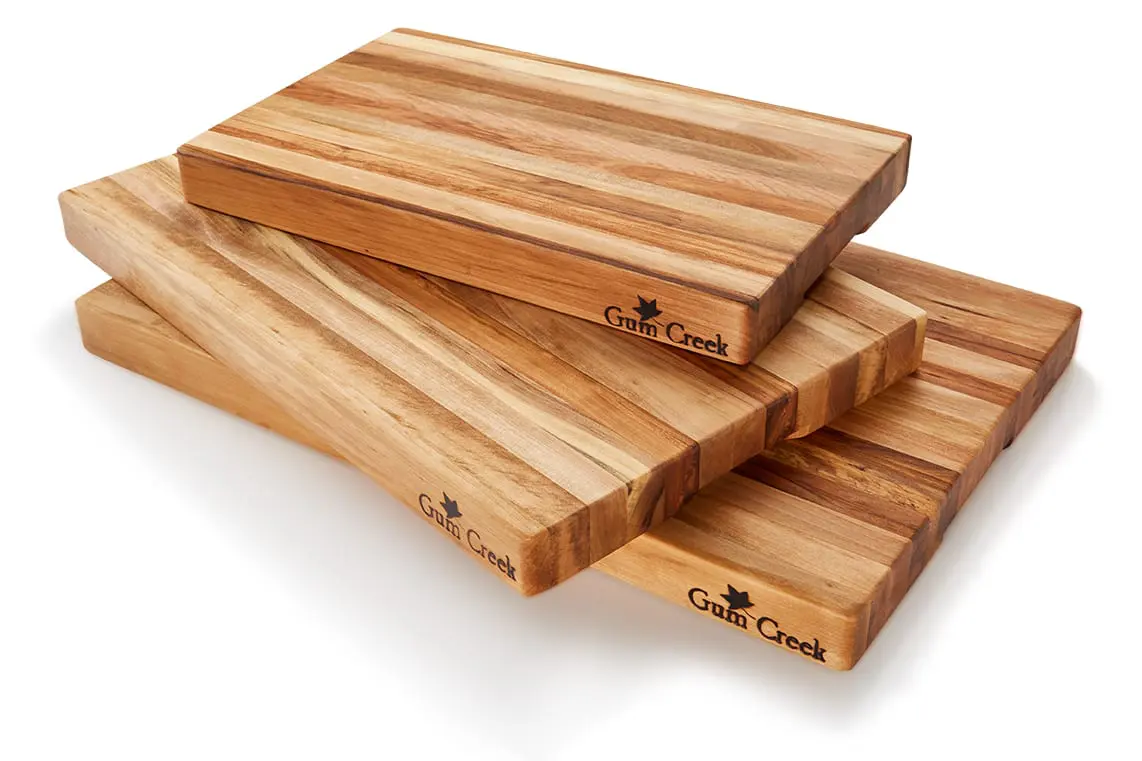
Butcher block countertops are made from strips of wood that are glued together to form a solid, durable surface. Typically crafted from hardwoods like maple, oak, or walnut, they offer a rustic, natural aesthetic that fits well in traditional, farmhouse, and modern kitchens. They are an affordable option compared to materials like granite or quartz. The cost can vary based on the type of wood and construction method:
Low-end: $30-$40 per square foot (birch, edge grain)
Mid-range: $50-$70 per square foot (maple, oak, edge grain or end grain)
High-end: $80-$150 per square foot (walnut, teak, end grain)
In addition to the countertop material, factor in installation costs, which can add $30-$60 per square foot if not DIY-ing the project.
Pros and cons of Butcher Block Countertops
Some pros can be mentioned as:
Aesthetic Appeal: Offers warmth and a natural, rustic look.
Durability: Strong, especially when well-maintained.
Versatility: Can be used as a cutting surface (with appropriate care).
Eco-Friendly: Made from sustainable materials.
Besides, butcher block countertop has some disadvantages such as
Maintenance: Requires regular sealing and oiling.
Susceptible to Scratches and Dents: Can show signs of wear and tear, though minor damages can be sanded out.
Water Damage Risk: Prone to water damage if not sealed properly.
Types of Butcher Block Construction
There are three primary types of butcher block construction, each offering unique aesthetics and durability:

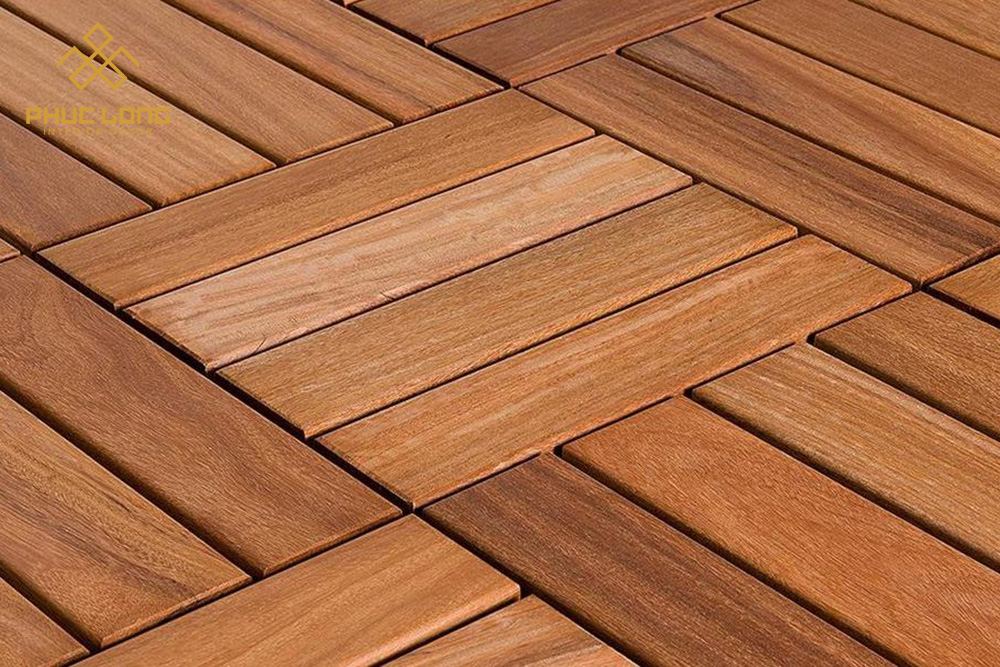
Edge Grain: Strips of wood are laid vertically on their edges, creating a striped pattern. It’s the most popular and affordable option, offering a durable surface
End Grain:Blocks of wood are laid upright so the end of the grain faces upward. This pattern is checkerboard-like and is gentler on knives, making it ideal for cutting surfaces.

Face Grain (Flat Grain): Planks of wood are laid flat, showing the wide surface of the grain. While beautiful, it’s less durable and more prone to scratches, often chosen for its aesthetic appeal.
Wood for Butcher Block Countertops ?
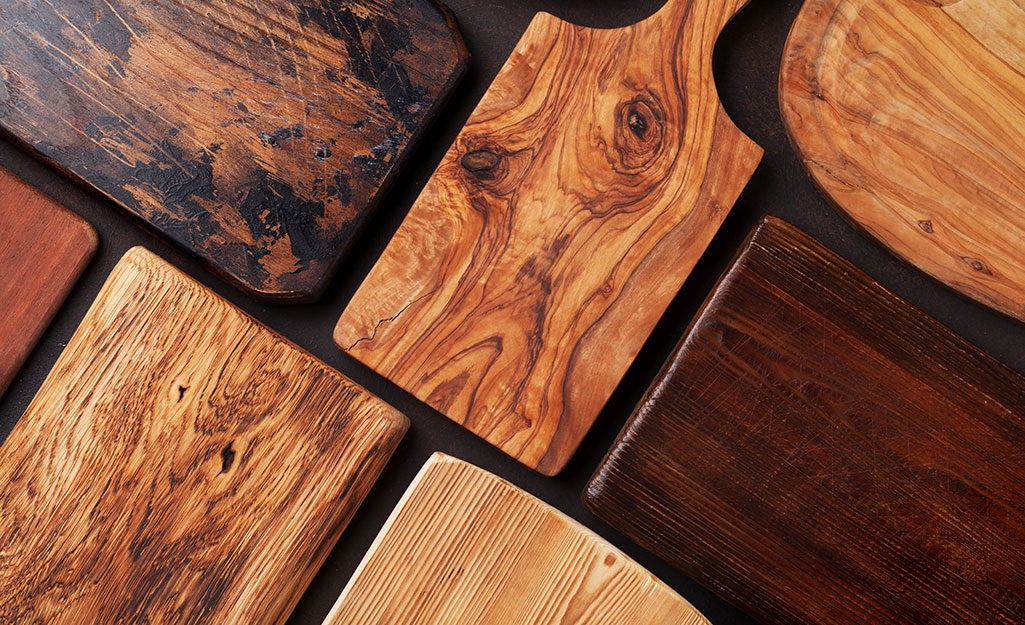
Choosing the material for butcher block countertop is also very important, with each different type of wood material, your product will have different characteristics. Below are the types of pine wood used for butcher block countertops, please note carefully before you choose the product:
Maple: Light in color, very durable, and non-porous.
Oak: A popular, affordable option with a distinctive grain pattern.
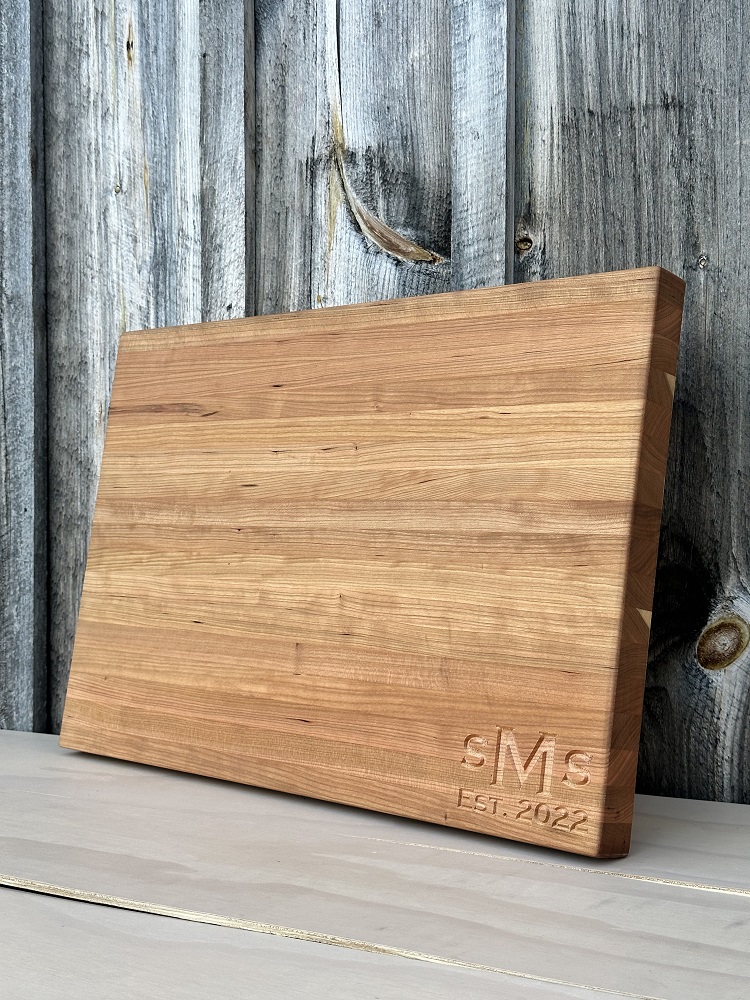
Walnut: Dark, rich color with a smooth finish; adds luxury to the kitchen.
Cherry: A reddish-brown hardwood that darkens over time.
Teak: Resistant to water, making it ideal for areas near sinks.
Birch: A lighter wood, more affordable, but softer than maple or oak.
Butcher Block Countertops ‘s Installation Process:

Step 1: Measure and Cut
Measure the space for the countertop. Use a circular saw or table saw to cut the butcher block to fit, ensuring it accommodates sinks, stoves, or other built-in appliances.
Step 2: Sand the Surface
Use sandpaper to smooth the surface, starting with a medium grit (around 120) and finishing with a fine grit (220). This prepares the wood for sealing and finishing.
Step 3: Seal the Underside
Apply a sealer or oil to the underside of the butcher block to protect it from moisture. This is especially important if installing near a sink.
Step 4: Install
Place the butcher block on the cabinets, ensuring it’s properly aligned. Use screws and brackets to secure it to the cabinets from underneath, ensuring no screws are visible on the surface.
Step 5: Finish and Seal
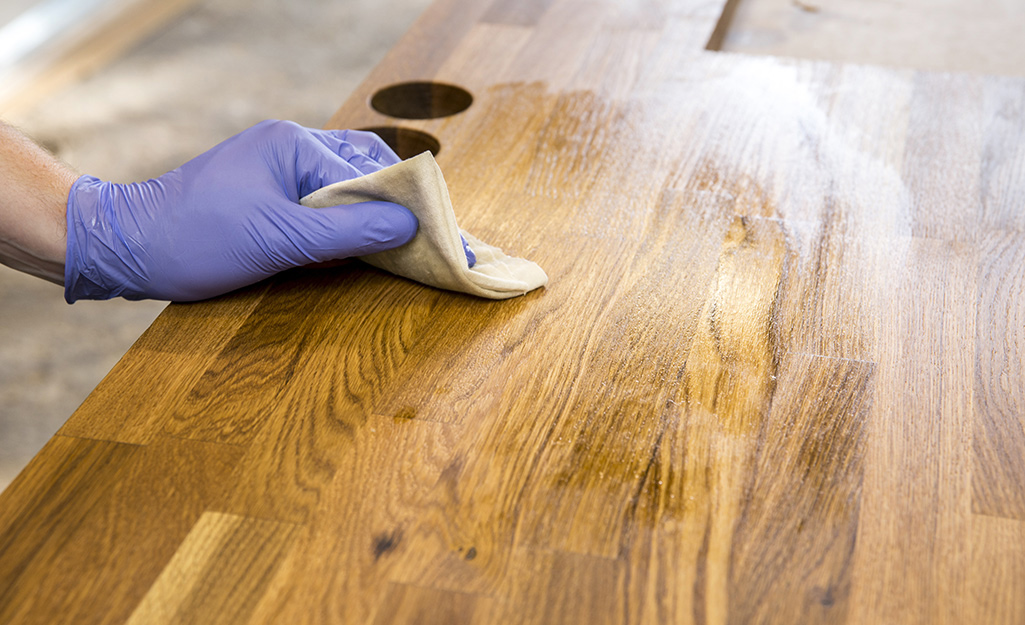
Once installed, apply a finish (mineral oil, beeswax, or varnish) to protect the surface. Reapply as needed to maintain durability.
Maintenance of Butcher Block Countertops
Butcher blocks require regular maintenance and cleaning with sealed butcher blocks also requiring regular re-sealing. As long as your countertop is not exposed to high temperatures, extremes in humidity or dryness or to water, it should not be too difficult to maintain, although a butcher block countertop should be regularly cleaned and disinfected to avoid contamination.
Unlike materials such as marble or granite which suffer from damage from the use of abrasive cleaning materials such as ammonia, Windex, vinegar or bleach, it is possible to use these materials in diluted quantities on a butcher block countertop.
It is also advisable to use mineral oil although any residual quantities of oil left on the countertop should be removed immediately. With respect to cleaning, you can use a damp cloth and dish soap to clean the surface and sandpaper can be used to clean any deep stains.
Overall, maintaining a butcher block countertop requires a lot more effort than a marble or quartz one, but it is not particularly expensive to maintain.
The one major benefit to butcher block is the ability to have the countertop be completely restored by sanding it. This will make a mess in your house with sawdust likely going everywhere, but you’ll wind up with a brand new surface even decades after the original installation.
Visit our blog here.